 jpush
jpush
# jpush
Android:
在 /android/app/build.gradle 中添加下列代码:
android: {
  ....
  defaultConfig {
    applicationId "替换成自己应用 ID"
    ...
    ndk {
	//选择要添加的对应 cpu 类型的 .so 库。
	abiFilters 'armeabi', 'armeabi-v7a', 'x86', 'x86_64', 'mips', 'mips64', 'arm64-v8a',
    }

    manifestPlaceholders = [
        JPUSH_PKGNAME : applicationId,
        JPUSH_APPKEY : "appkey", // NOTE: JPush 上注册的包名对应的 Appkey.
        JPUSH_CHANNEL : "developer-default", //暂时填写默认值即可.
    ]
  }
}
1
2
3
4
5
6
7
8
9
10
11
12
13
14
15
16
17
2
3
4
5
6
7
8
9
10
11
12
13
14
15
16
17

iOS:
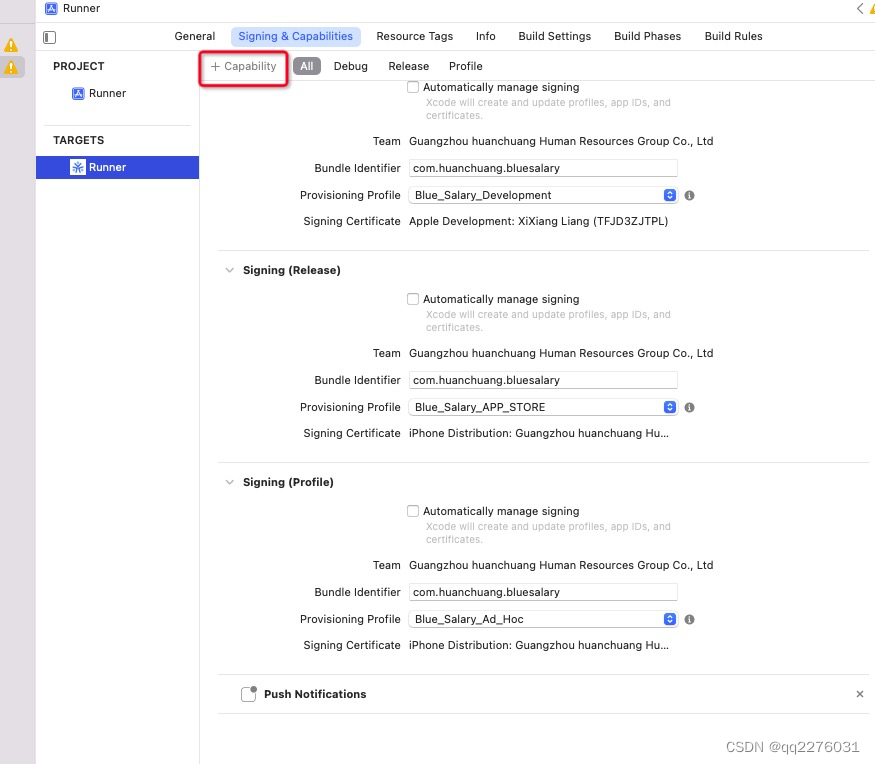
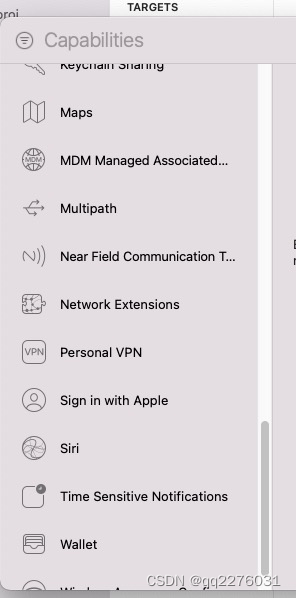
- 在 xcode8 之后需要点开推送选项: TARGETS -> Capabilities -> Push Notification 设为 on 状态
 编辑
编辑
 编辑
编辑
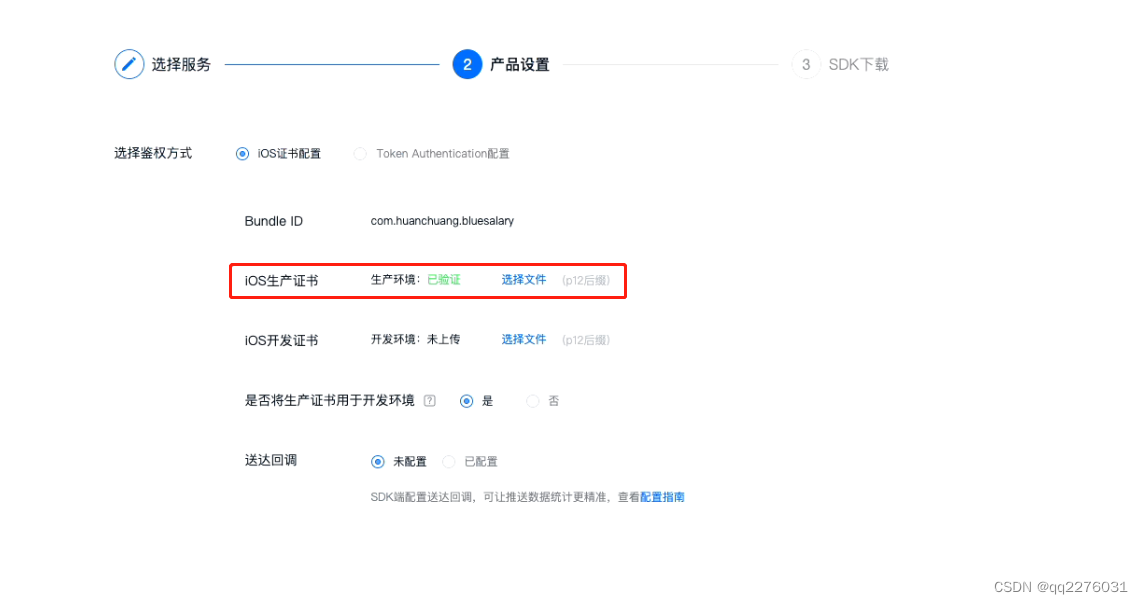
jpush 申请证书
 编辑
编辑
登录 apple development
1.Certificates, Identifiers & Profiles
2.增加
 编辑
编辑
3.选择bundleId
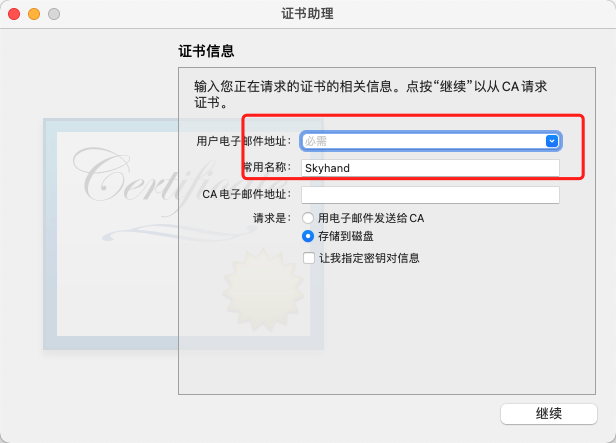
4.choose file (CertificateSigningRequest.certSigningRequest 个人电脑 资格证书(CSR)文件)
5.下载 cer格式,双加安装
 编辑
编辑
导出p12 格式的证书,输入证书的密码
6.上传证书到jpush
上次更新: 2022/12/11, 02:32:13